How to Review Logs using Windows PowerShell

Windows Powershell is similar to a terminal on Linux systems. It is a proprietary Windows command-line shell and can be used for different purposes including logs review. Logs are critical for administrators to identify issues and troubleshoot machines. But it is difficult to identify relevant information from logs. This blog guides you on How to Review Logs using Windows PowerShell.
How to Review Logs using Windows PowerShell
(1) Display a list of event logs
Get-EventLog -List

(2) Display only 20 entries of System logs
Get-EventLog -Logname System -Newest 10

(3) Display only 10 entries of Security logs
Get-EventLog -Logname Security -Newest 10

(4) Display only 10 entries of OAlerts logs
Get-EventLog -Logname OAlerts -Newest 10

(5) Display only 5 entries of OAlerts logs where ErrorType is Error
Get-EventLog -Logname OAlerts -Newest 5 -ErrorType Error

(6) To filter based on date and time
Get-EventLog -LogName System -After ([datetime]'2021-01-01 10:00') -before ([datetime]'2021-12-08 10:00')

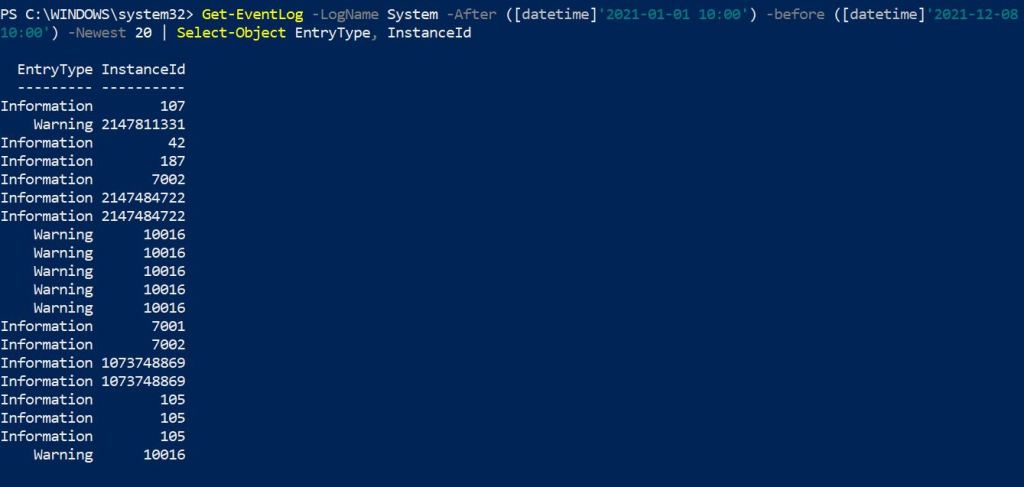
(7) To filter and display only EntryType and InstanceId by using the pipe (|) command
Get-EventLog -LogName System -After ([datetime]'2021-01-01 10:00') -before ([datetime]'2021-12-08 10:00') | Select-Object EntryType, InstanceId

(8) Filter the results by using pipe the cmdlet to Get-Member
Get-EventLog application -newest 1 | Get-Member
Conclusion
This blog lists out some commands that help you to review logs on Windows Shell. Feel free to comment if any doubt arises in any of the script.
Subscribe us to receive more such articles updates in your email.
If you have any questions, feel free to ask in the comments section below. Nothing gives me greater joy than helping my readers!
Disclaimer: This tutorial is for educational purpose only. Individual is solely responsible for any illegal act.


